
Gardening: From plain to pretty
September/October 2022 California Bountiful magazine
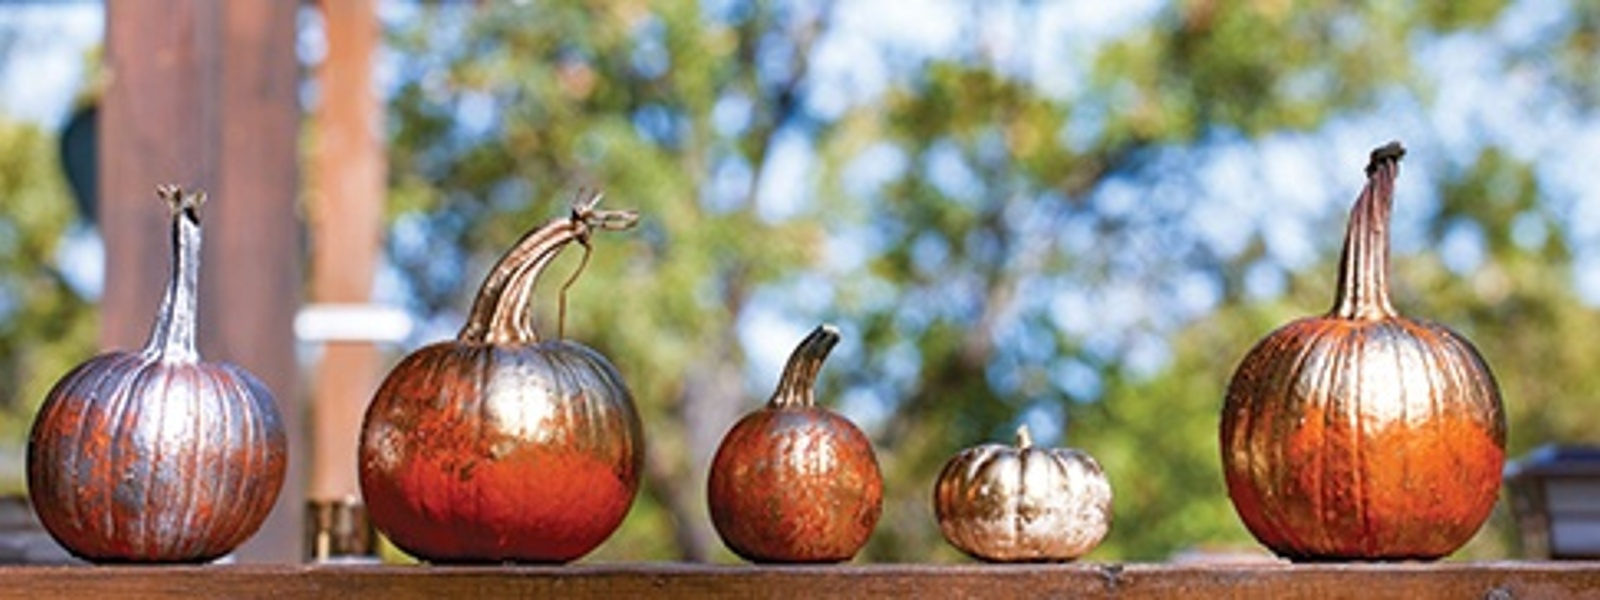
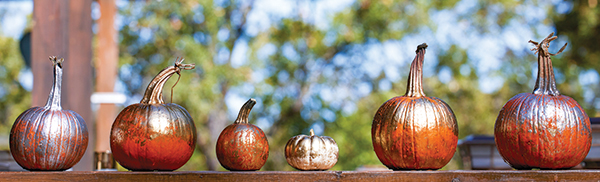
Marbled pumpkins are a
fun and easy project for all
Story by Pat Rubin
Photos by Fred Greaves
Once in a while, a project comes along that is as easy as it sounds. This marbled-pumpkin project is simple, quick, takes almost nothing at all as far as supplies and is sure to wow visitors. Everyone will want to know how you did it.
The instructions I was given were basic and a little vague: Fill a bucket almost to the top with water. Spray oil-based paint into the water. Swirl it around, dip the pumpkin into the water and out again and voila! You’re done.
It does work just that way, but I did learn a few things along the way that will make the project even easier.
What you need
- Spray paint, your choice of color (I used gold and silver)
- Face mask
- Bucket big enough to dunk your pumpkins
- A stick to swirl the paint in the bucket
- Pumpkins or winter squash
Choose pumpkins (or winter squash) with sturdy stems. This gives you something to hold onto when dipping. Miniature pumpkins and smallish traditional pumpkins are easiest to immerse. But if you have a really large bucket or trough to use for dunking, any size you can handle will do.
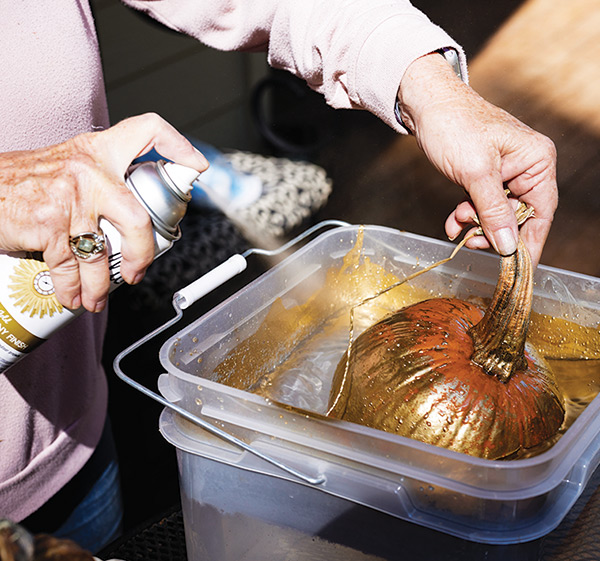
The reason you swirl the paint around in the water before dunking the pumpkin is so it doesn’t all stick to the bottom of the pumpkin as you dip it. For a more generous coating of paint, you can spray more paint into the water while the pumpkin is still immersed. You also can dip it more than once. Experiment a little and find out how much paint you want to stick to your pumpkins.
Change the water often so you don’t get remnants of the last color on the current project. Last tip: Spray paint the stem of the pumpkin.
The paint dries quickly, so this is a project you can do at the last minute before guests arrive.
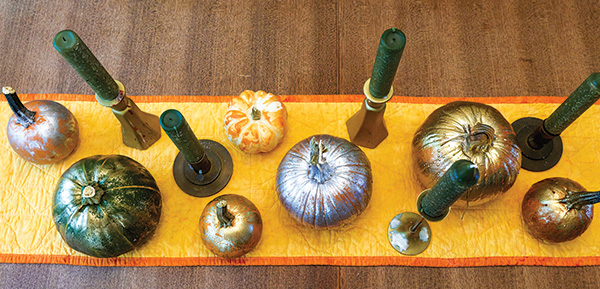
I used metallic gold and silver paint on my pumpkins, although I did use orange paint on a white pumpkin. Next, I arranged them down the center of the dining room table and interspersed them with a variety of candlesticks. It made a very autumn-like arrangement and, of course, my guests wanted to know how to make their own marbled pumpkins.
